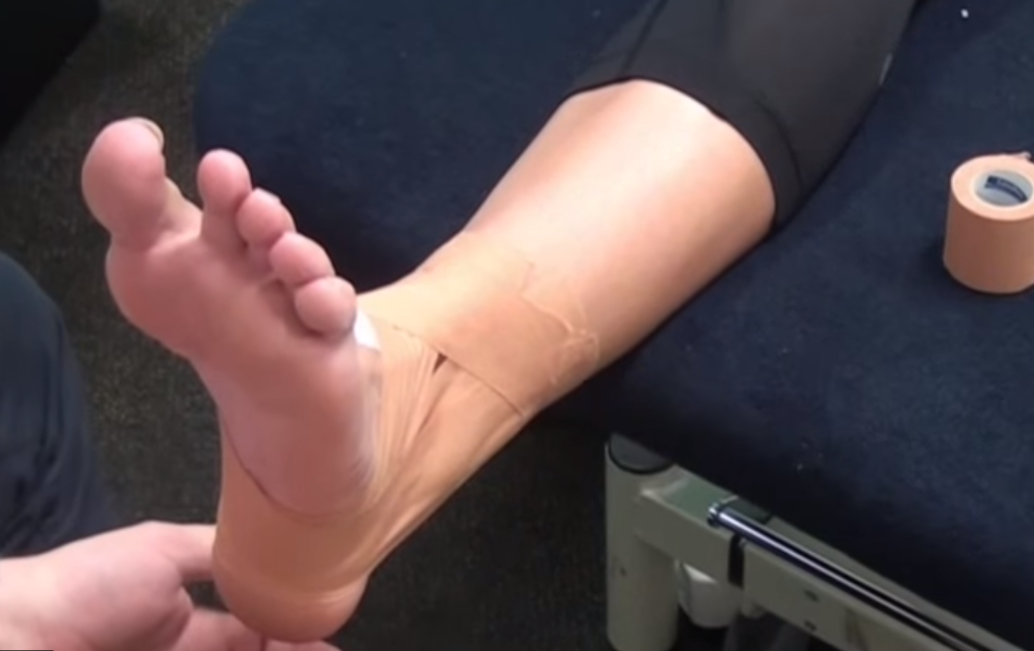
Welcome to week one of our regular series Taping Tuesday. Today, our Practice Principal and Claremont Football Club Head Physiotherapist Anthony McEvoy demonstrates how to do a basic ankle tape for an inversion sprain.
Always ensure that tape is applied to clean dry skin and use fixomull to prevent irritation or on sensitive areas. If the patient wishes to have their skin shaved prior to taping it is advisable to do so at least 12 hours prior as the pores of the skin can remain open in this time, therefore increasing the risk of infection.
Having watched the video above, it is important to note the following steps to taping a basic ankle. They are:
- The Anchor – Starting at the musculotendinous junction of the calf and achilles do a circumferential tape with a slight raise across the shin.
- 3 Stirrups – These should run from medial (inside) to lateral (outside) for an inversion sprain. It is important to ensure good width at the top the the stirrups but trying to have them come under the foot with only one tape width.
- 2 Figure 6’s – Our preference is to do a figure 6 tape on both sides starting at the top from the anchor and returning to your starting point.
- Heel Lock – A full heel lock should aim to cross the calcaneus at an approximately 45 degree angle. Ensure this isn’t too tight by working the tape off the roll.
- Lock off – It is always important to lock off any loose edges of the tape to ensure they don’t get caught on socks in the heat of battle.
Keep an eye out for more taping tips over the next few weeks and don’t forget we are able to get you in and prepare you with tape on a Saturday morning or before any of your games or to teach you how to do it your favourite athlete. Give us a call on (08) 9384 3269 or book an appointment online.

